Before you begin
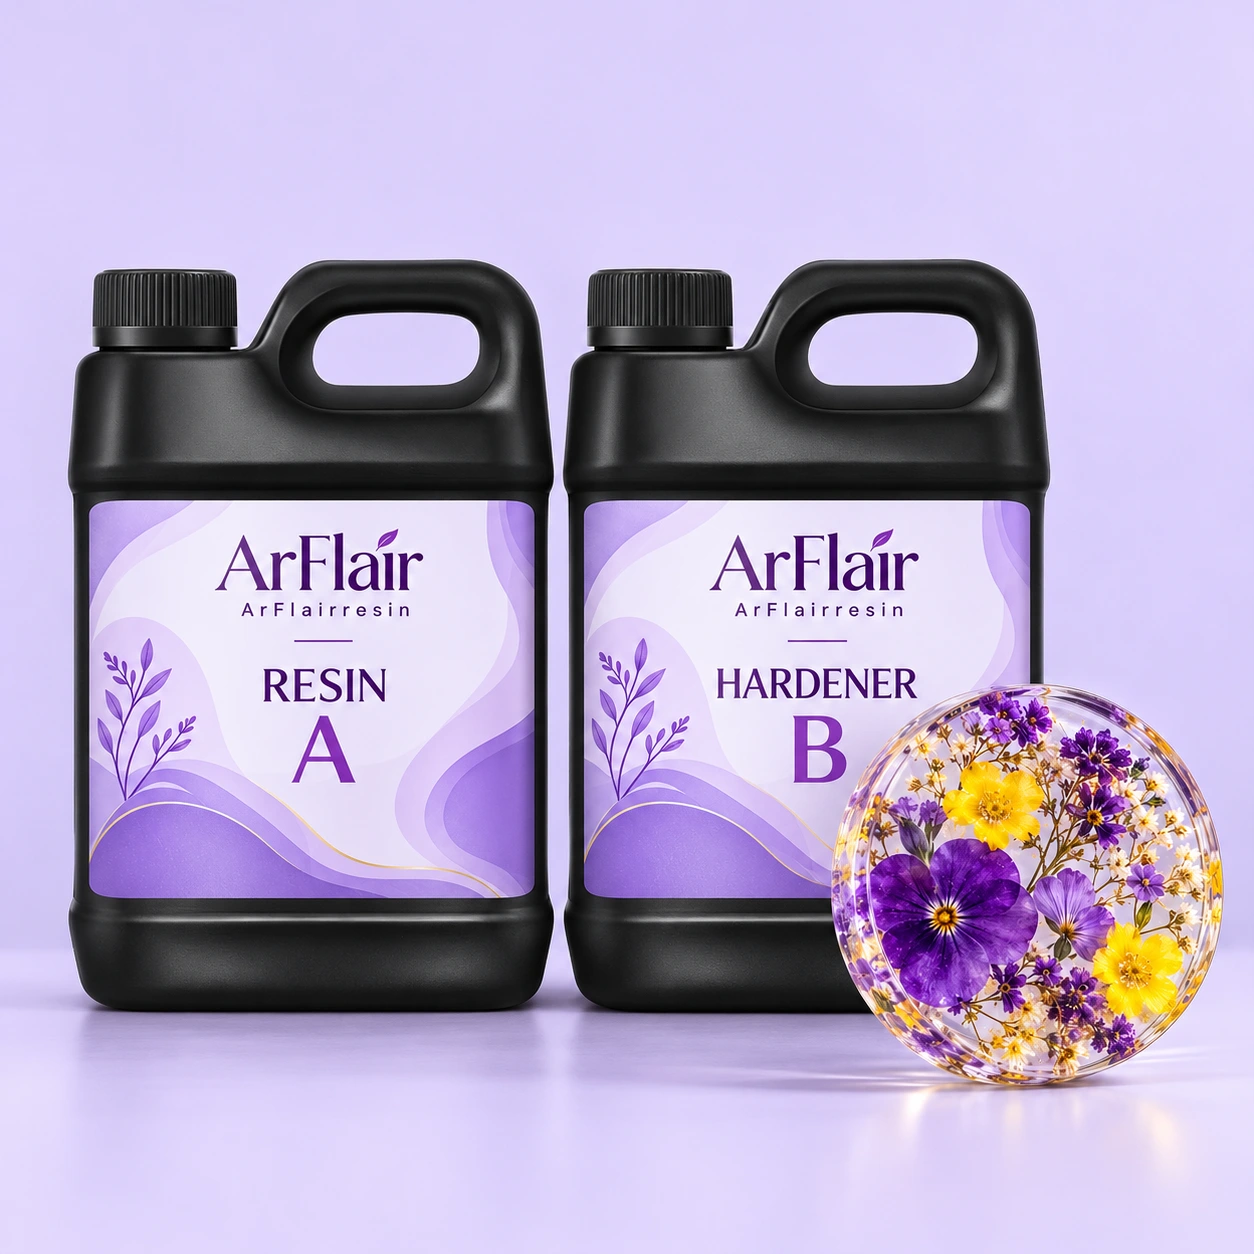
- A UV resin intended for your application
- A lamp with the resin’s specified wavelength and output
- Compatible bezels or light-transmitting casting forms
- Small inclusions, a fine tool and suitable protective equipment
Design around the light
Choose a small design that lets curing light reach the resin. Deep, opaque or heavily filled shapes can block light and leave areas uncured. Check the resin and lamp instructions together; a lamp that looks bright is not necessarily a compatible curing source.
Test the decoration
Try your colorant, glitter or inclusion in a small sample. Dense pigment and large opaque pieces affect light penetration. Start with a restrained design and stay within the supplier’s recommendations for additives and layer thickness.
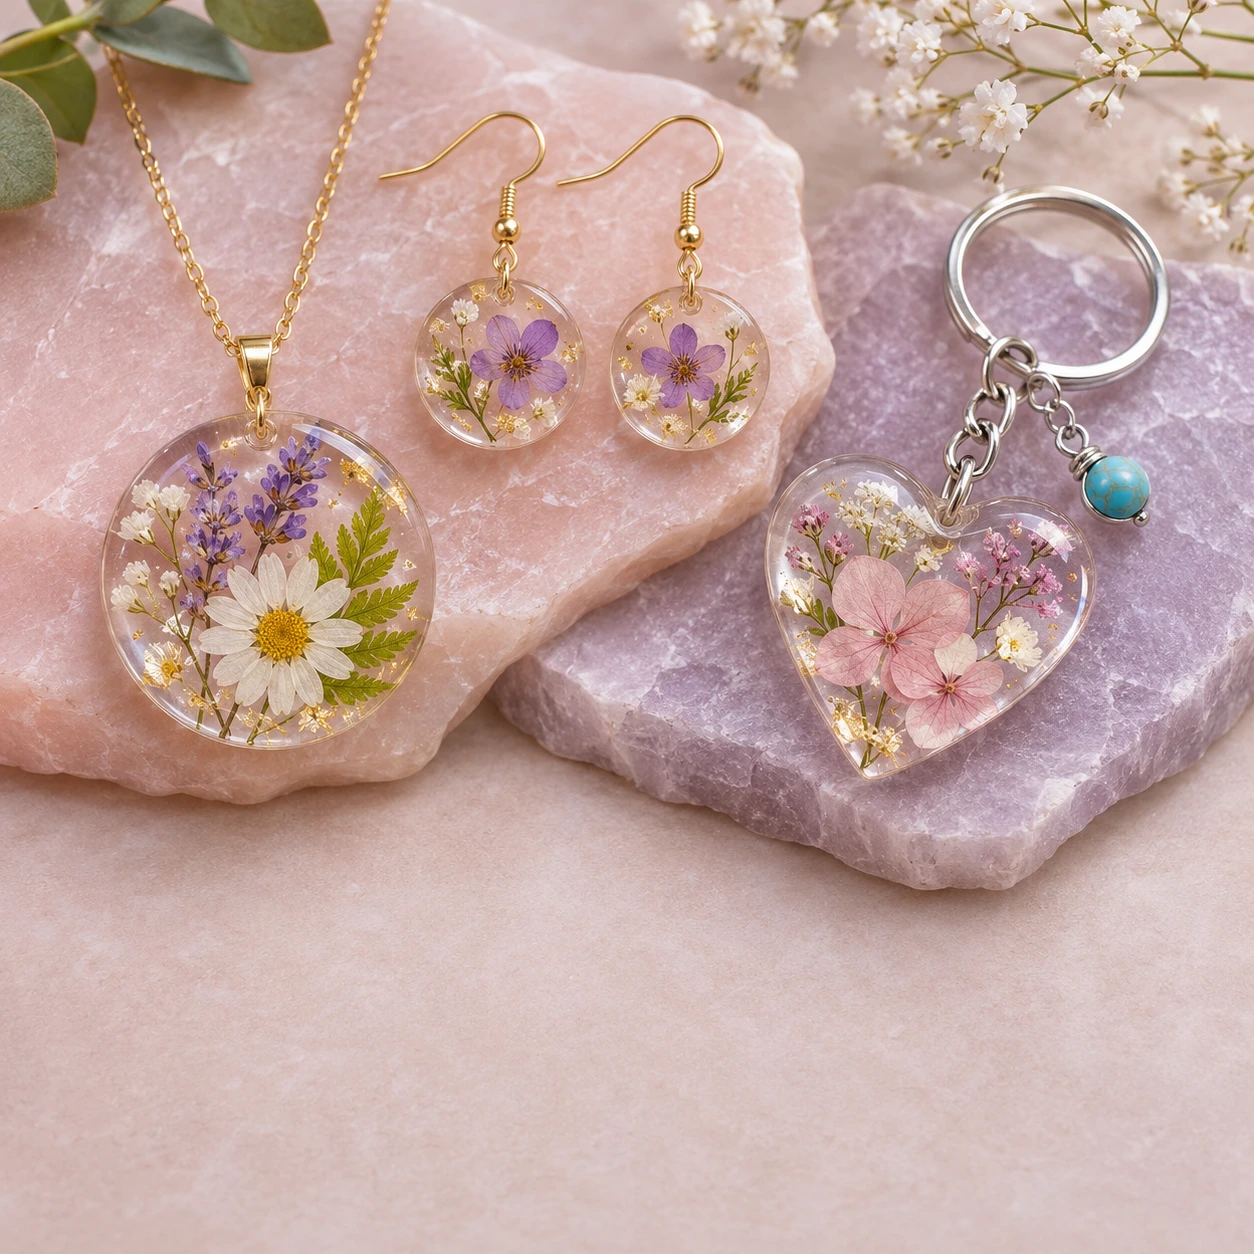
Build the charm in controlled layers
Place the resin and decorations using the documented method. Cure each layer for the specified exposure, taking care to avoid skin contact with uncured resin. Shield eyes and skin from direct UV exposure and follow the lamp’s protective instructions.
Check before you assemble
Follow the manufacturer’s post-cure and inspection guidance. A hard surface alone does not confirm that the interior is cured. Do not package or wear a piece that remains tacky or has uncured pockets. Add findings only after the piece has completed its required cure.
TAKE THIS WITH YOU
Resin, color loading, layer thickness and lamp compatibility all belong in the same sample test.
For material processing, use the current TDS and SDS for the exact product you select. Mixing ratios, cure conditions and suitable applications vary by formulation.
CHOOSE MATERIALS FOR THIS PROJECT