Before you begin
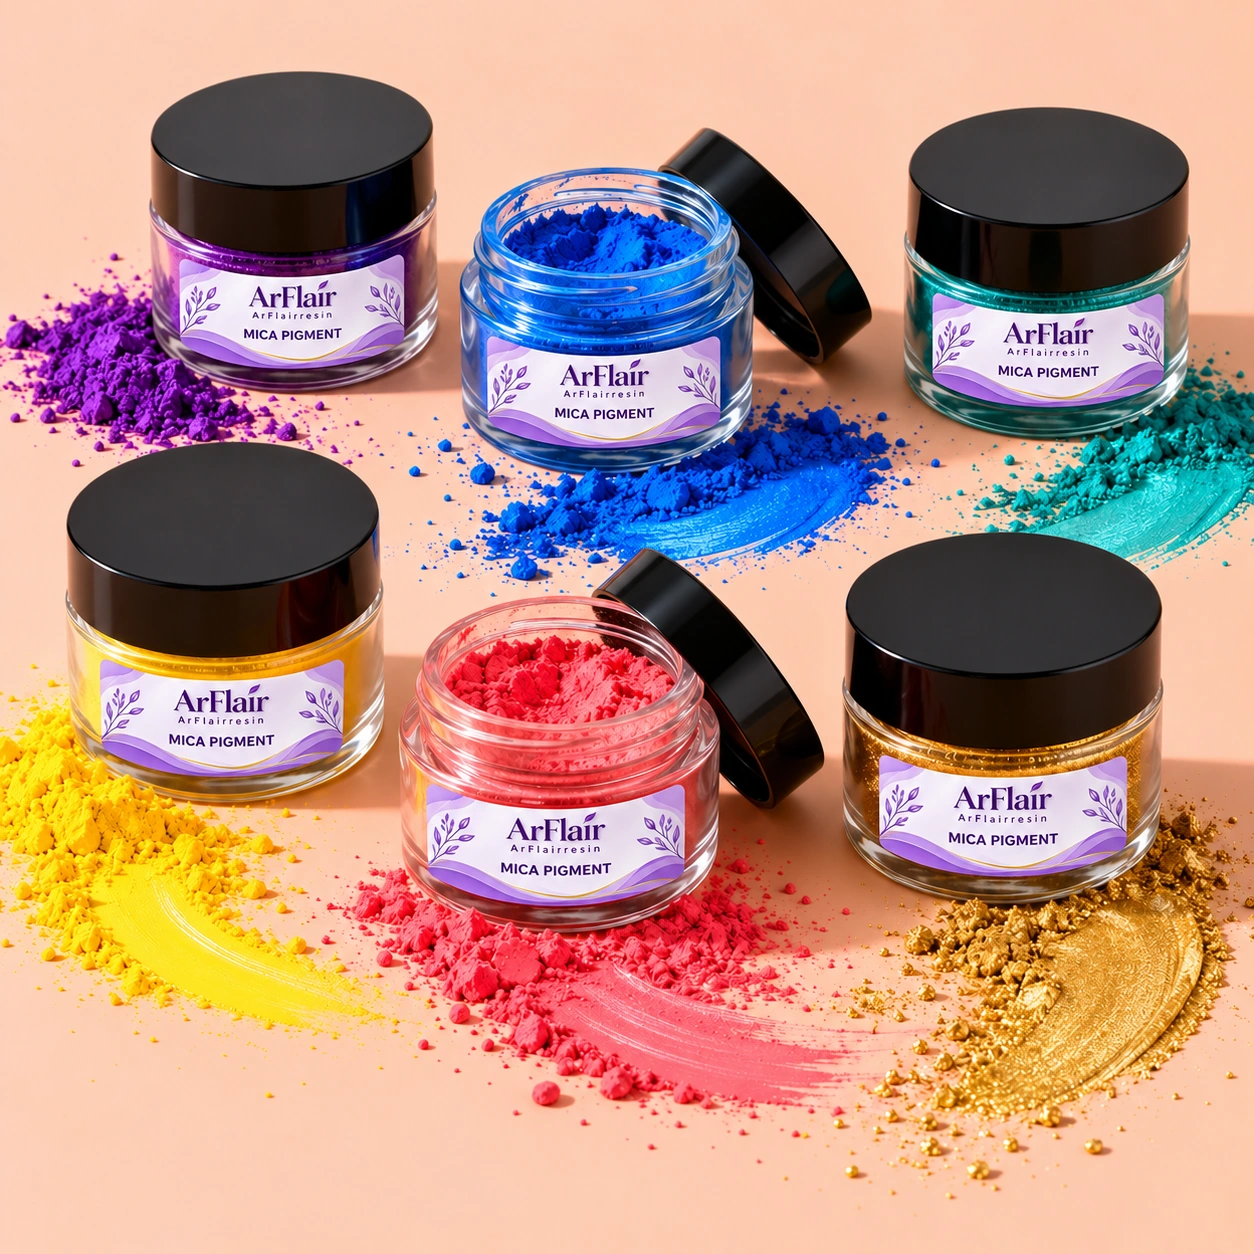
- Compatible mica pigments or resin colorants
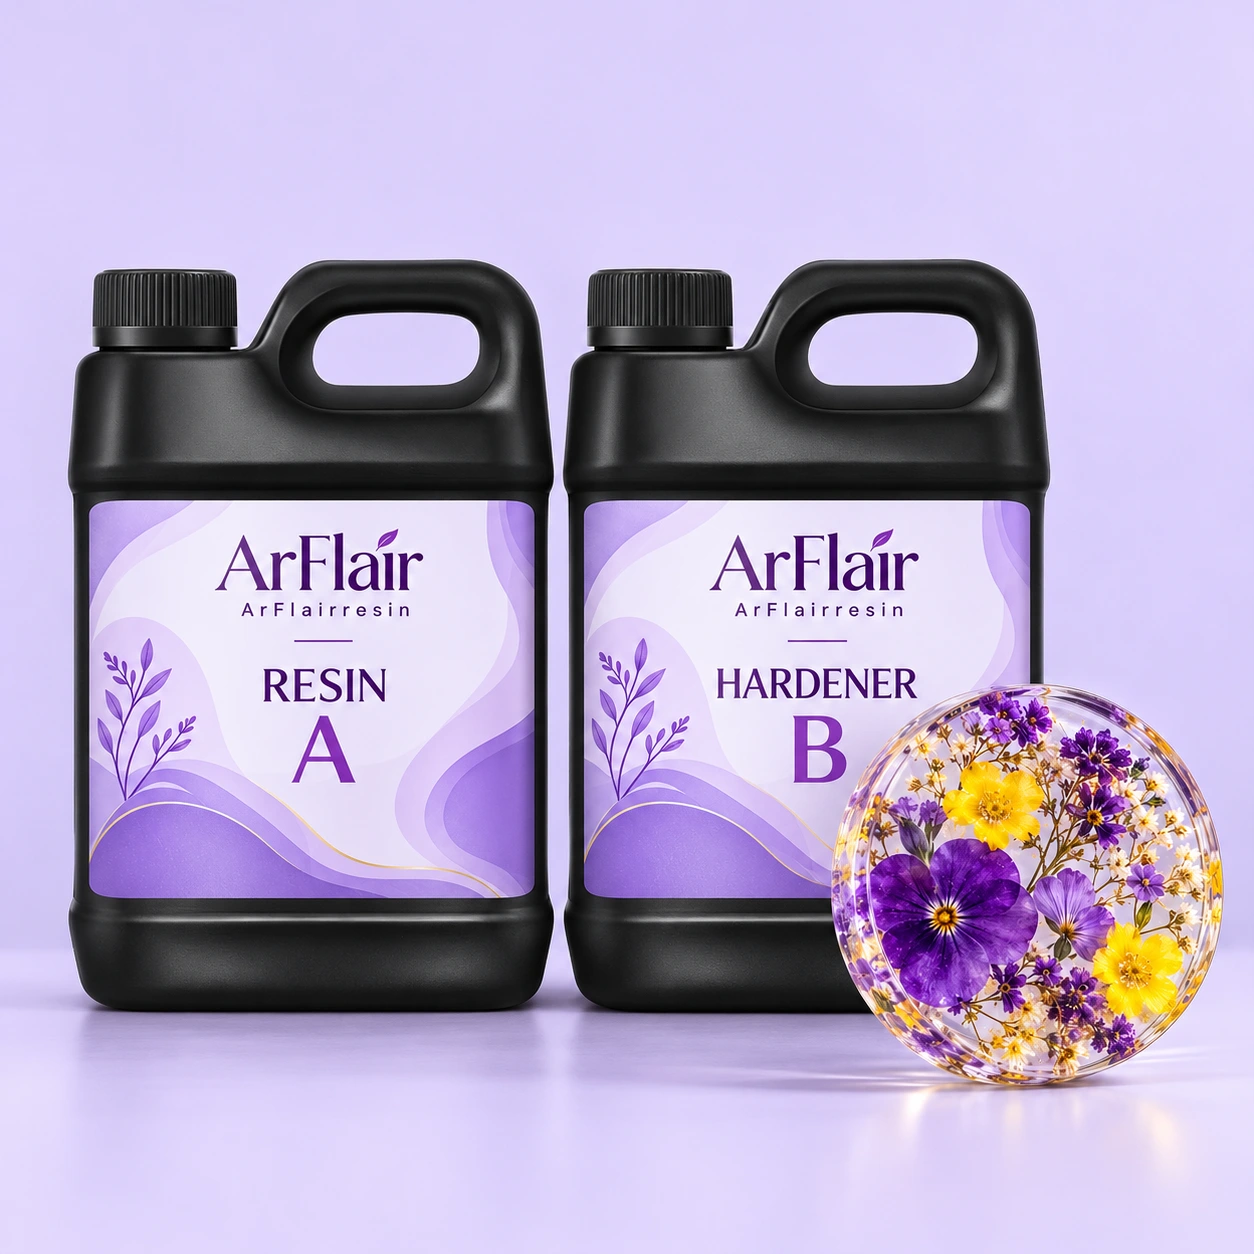
- The resin selected for your project
- Labeled sample cups and a notebook
- A neutral background for comparing cured samples
Give the palette a job
Start with an audience or mood: warm botanical gifts, cool coastal decor or jewel-toned holiday ornaments. Choose one lead shade, one supporting shade and a neutral. This creates a clear direction for packaging as well as finished projects.
Compare cured samples
The color in a pigment jar is not the final result. Resin type, casting depth, lighting and additive loading all affect appearance. Make small labeled samples using the intended resin and stay within its recommended additive limits.
Balance shimmer and transparency
Mica produces a different visual effect from a transparent dye. Consider where you want light to pass through and where you want a pearlescent surface. For UV resin, check how color loading affects the curing light before scaling up.
Turn the samples into a simple record
Keep the pigment identity, addition amount, resin formulation and cure conditions alongside each sample. Photograph the samples under consistent lighting. For a business collection, review these physical references with your supplier before approving a larger run.
TAKE THIS WITH YOU
Approve the cured effect, not just a digital color swatch.
For material processing, use the current TDS and SDS for the exact product you select. Mixing ratios, cure conditions and suitable applications vary by formulation.